
exploring a modern embedded development experience
a rusty, blinking pico
2/3/2024
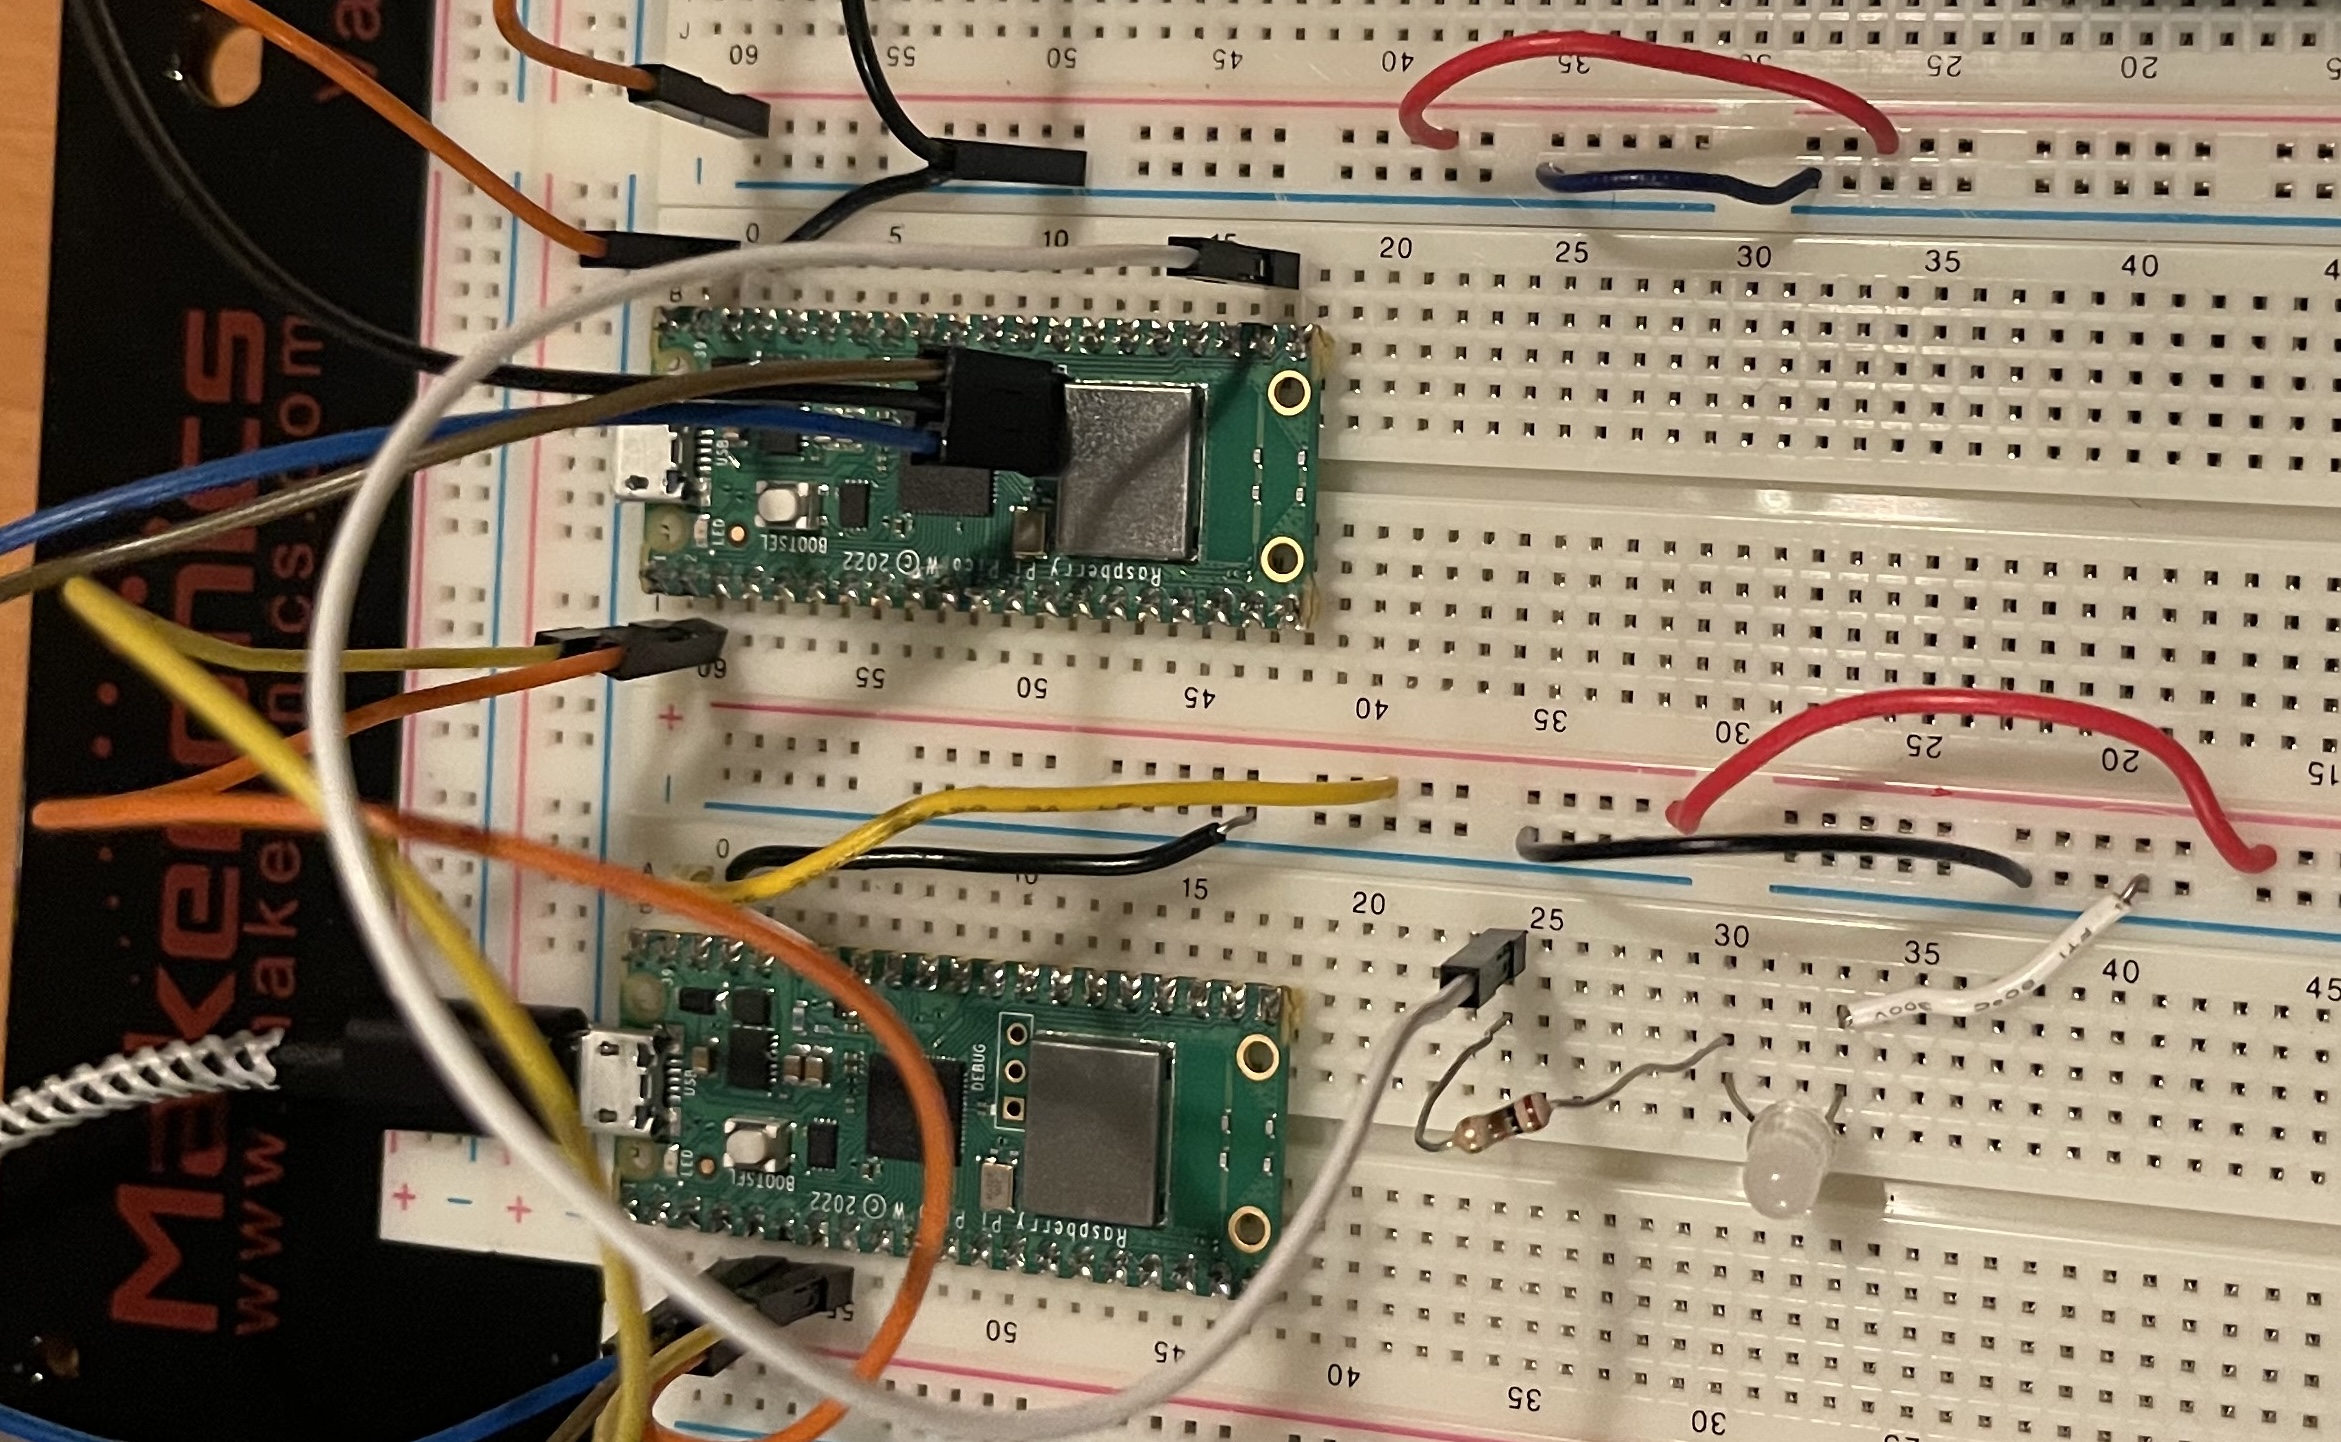
After getting the picoprobe set up, I was able to flash the blinky example to my Pico W. Keep in mind the Pico W onboard LED is no longer connected - I picked a different GPIO and wired a LED and resistor in series to it. Blinky is always a satisfying place to start.
I had a pleasant experience getting up and running with my Pico W. Since I'm doing all my development on a M2 MacBook Air, I decided to pursue the picoprobe configuration, where one Pico is actually used to flash and debug the other. The fantastic documentation addresses this in detail ("Getting Started With Raspberry Pi Pico", Appendix A), so I won't rehash that writing.
A template to get started quickly - the below example can be found here
//! Blinks the LED on a Pico board
//!
//! This will blink an LED attached to GP25, which is the pin the Pico uses for the on-board LED.
#![no_std]
#![no_main]

use bsp::entry;
use defmt::*;
use defmt_rtt as _;
use embedded_hal::digital::v2::OutputPin;
use panic_probe as _;

// Provide an alias for our BSP so we can switch targets quickly.
// Uncomment the BSP you included in Cargo.toml, the rest of the code does not need to change.
use rp_pico as bsp;
// use sparkfun_pro_micro_rp2040 as bsp;

use bsp::hal::{
    clocks::{init_clocks_and_plls, Clock},
    pac,
    sio::Sio,
    watchdog::Watchdog,
};

#[entry]
fn main() -> ! {
    info!("Program start");
    let mut pac = pac::Peripherals::take().unwrap();
    let core = pac::CorePeripherals::take().unwrap();
    let mut watchdog = Watchdog::new(pac.WATCHDOG);
    let sio = Sio::new(pac.SIO);

    // External high-speed crystal on the pico board is 12Mhz
    let external_xtal_freq_hz = 12_000_000u32;
    let clocks = init_clocks_and_plls(
        external_xtal_freq_hz,
        pac.XOSC,
        pac.CLOCKS,
        pac.PLL_SYS,
        pac.PLL_USB,
        &mut pac.RESETS,
        &mut watchdog,
    )
    .ok()
    .unwrap();

    let mut delay = cortex_m::delay::Delay::new(core.SYST, clocks.system_clock.freq().to_Hz());

    let pins = bsp::Pins::new(
        pac.IO_BANK0,
        pac.PADS_BANK0,
        sio.gpio_bank0,
        &mut pac.RESETS,
    );

    // This is the correct pin on the Raspberry Pico board. On other boards, even if they have an
    // on-board LED, it might need to be changed.
    //
    // Notably, on the Pico W, the LED is not connected to any of the RP2040 GPIOs but to the cyw43 module instead.
    // One way to do that is by using [embassy](https://github.com/embassy-rs/embassy/blob/main/examples/rp/src/bin/wifi_blinky.rs)
    //
    // If you have a Pico W and want to toggle a LED with a simple GPIO output pin, you can connect an external
    // LED to one of the GPIO pins, and reference that pin here. Don't forget adding an appropriate resistor
    // in series with the LED.
    let mut led_pin = pins.gpio17.into_push_pull_output();

    loop {
        info!("on!");
        led_pin.set_high().unwrap();
        delay.delay_ms(1000);
        info!("off!");
        led_pin.set_low().unwrap();
        delay.delay_ms(1000);
    }
}

// End of file